

You can change a tire by stopping in a safe place, loosening the lug nuts, and lifting at an approved jack point. Fit the spare, then tighten the wheel securely. The steps apply to a typical vehicle, but your owner manual controls for vehicle-specific instructions. Good preparation makes an emergency less stressful, especially when traffic is close or visibility is poor.
A compact spare is a temporary, narrower replacement tire intended for limited emergency driving. Before driving, check that you have a usable spare and the tools to install it. Turn on your hazard lights while stopped, and do not work where the vehicle could roll or the jack could sink. Your safety matters more than finishing the repair quickly.
These basic steps can help you decide whether a roadside tire change is manageable or whether you need assistance. A practice run at home can help you recognize your vehicle’s equipment before an unexpected flat.
Key Takeaways
- Move to a safe, firm place before starting.
- Use the owner manual to find the correct jack point.
- Make sure the spare is suitable for your vehicle.
- Loosen lug nuts before lifting, then tighten them after lowering.
- Follow the spare’s driving limits and arrange tire service promptly.
What Should You Do When a Tire Goes Flat?
If a tire goes flat, do not keep driving on it; move only as far as needed to reach a safe place, then stop. Slowly ease off the accelerator and avoid sudden braking or steering, which can make the vehicle harder to control.
Choose firm, level ground away from traffic, then turn on your hazard lights and apply the parking brake. Do not change a tire in an exposed or unstable location. A shoulder beside fast-moving traffic or soft, sloped ground can put you at risk.
- Reduce speed gradually and steer toward a safe stopping place.
- Park on firm, level ground with room to work away from traffic.
- Switch on the hazard lights so other drivers can see the vehicle.
- Set the parking brake before leaving the driver’s seat.
If the vehicle is exposed to traffic or stands on unstable ground, do not attempt a roadside tire change.
Use your judgment about the location before gathering equipment. If traffic or the ground makes the work area unsafe, stay out of the roadway and seek roadside help.
What Tools and Spare Checks Do You Need?
The basic kit is a jack, lug wrench, usable spare and owner manual, but a spare is not suitable for every vehicle. Check the fit first, since some vehicles use a different emergency tire setup or cannot use a compact spare.
A compact spare is not compatible with some all-wheel-drive and four-wheel-drive vehicles. Check the owner manual before using one. Some vehicles have run-flat tires or a sealant and inflator kit instead of a spare.
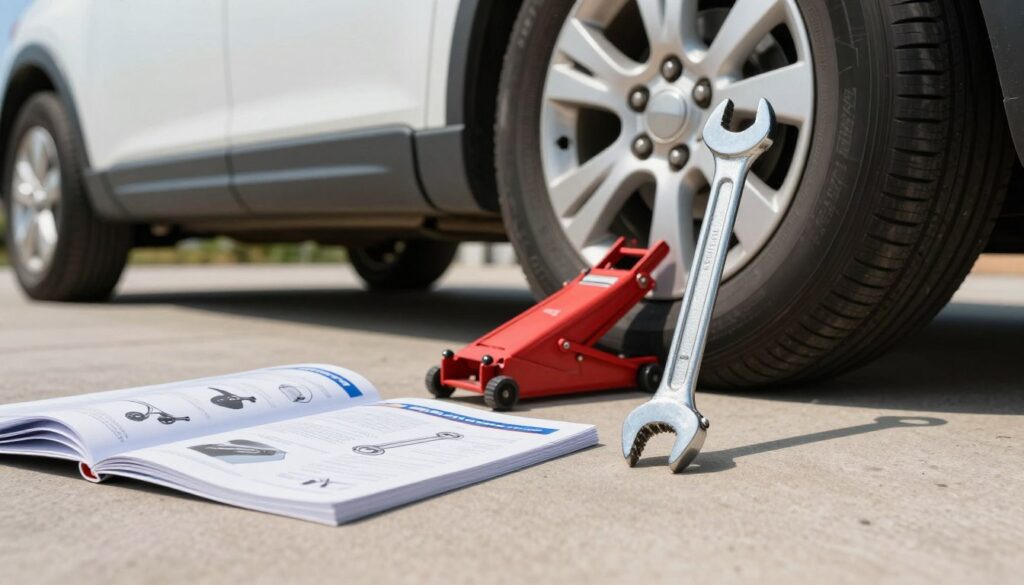
Gather the tire-change tools
Keep the basic tools together so they are easy to reach when you need them. Your vehicle may store them under a cargo floor or behind a panel, so learn their location before an emergency.
- Jack
- Lug wrench
- Spare tire
- Owner manual
Add a wheel chock if your vehicle includes one, and bring the wheel-lock key when locking lug nuts are fitted. Check that the wrench fits the lug nuts and that the jack is the one supplied or approved for your vehicle.
Confirm the spare is usable
Check that the spare is present and appears to be in usable condition. AAA flat-tire service is available 24/7 in the United States and Canada. An AAA technician can inspect a spare’s inflation and safety, then install it if it is usable.
If the spare is unsafe, the technician can tow the vehicle to a tire shop. If there is no usable spare, AAA can tow the vehicle instead. The service option depends on what the technician finds at the roadside:
| Situation | AAA technician’s action | Outcome |
|---|---|---|
| Usable spare | Inspect it and install it | Vehicle can continue on the spare |
| Spare found unsafe | Tow to a tire shop | Spare is not used |
| No usable spare | Tow the vehicle | Vehicle goes for tire service |
Check the manual before using a compact spare on an all-wheel-drive or four-wheel-drive vehicle.
How to Change a Tire: Step-by-Step
The safe sequence is to loosen the lug nuts on the ground, lift at the approved jack point, swap wheels, lower the vehicle, and finish tightening. Follow your owner manual for the vehicle’s jack points and lug-nut torque specification.
Never put any part of your body under a vehicle supported by a jack. A jack is for changing a tire, not supporting a vehicle for repairs.
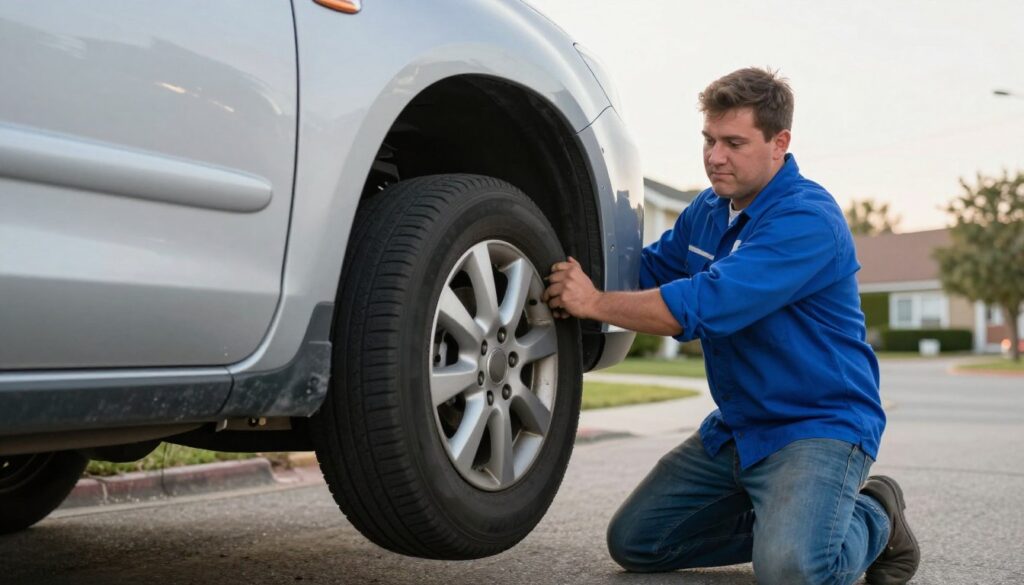
Prepare the vehicle and loosen the lug nuts
Park securely on firm, level ground and apply the parking brake. Follow the owner manual to find the correct jack point for the wheel you are changing. Using another part of the vehicle can cause damage or let the jack slip.
Keep the wheel on the ground while you loosen the lug nuts with the lug wrench. Turn each nut counterclockwise about one turn, using steady pressure. Do not remove them yet; the tire’s contact with the ground helps keep the wheel from turning.
Lift the vehicle and swap the wheel
Set the jack at the approved point and raise the vehicle only until the tire clears the ground. Keep the jack upright and stop if it shifts. Remove the lug nuts and place them together somewhere they cannot roll away.
Pull the flat wheel straight off the wheel studs. If it sticks, keep your hands clear of pinch points and use the approach described in your owner manual. Line up the spare’s openings with the studs, then slide the wheel into place.
Start each lug nut by hand so its threads engage properly. Hand-tighten them enough to hold the wheel against the hub. If a nut will not turn by hand, remove it and try again rather than forcing it onto the threads.
Lower the vehicle and secure the lug nuts
Lower the vehicle until the spare touches the ground and the wheel no longer spins freely. Tighten the lug nuts with the wrench in a star or crisscross pattern. Move to an opposite nut after each turn to help the wheel seat evenly.
Lower the vehicle fully, then make a final tightening pass in the same pattern. Do not try to fully tighten the lug nuts while the wheel is suspended. The wheel can rotate, making it difficult to tighten the nuts evenly and securely.
Use the specified lug-nut torque rather than guessing how tight the fasteners should be.
2026 Jeep Wrangler Tire-Change Details
The 2026 Jeep Wrangler has specific lifting and spare-stowage instructions that take precedence over generic steps. Use these details only for this model, and follow the Wrangler owner manual if its instructions differ from general guidance.
Before lifting, park on firm, level ground, apply the parking brake, turn off the ignition, and select Park or Reverse. Remove passengers before raising the vehicle, and block the wheel diagonally opposite the jacking position.
Secure and lift the Wrangler
Loosen the lug nuts one turn while the tire remains on the ground, but do not remove them until the Wrangler is raised. Place the jack under the axle tube at the indicated front or rear lifting point. Do not raise the vehicle until the jack is fully engaged.
Raise the Wrangler only until the tire clears the ground enough to fit the spare. Extra height makes the vehicle less stable. For factory 35-inch (88.9 cm) tires, use the provided jack lift block for added ground clearance.
Never put any part of your body under a vehicle supported by a jack. The Wrangler’s jack is intended for changing tires, not for vehicle service or work underneath the vehicle.
Mount and stow the spare
Position the spare on the wheel studs and install the lug nuts with their cone-shaped ends facing the wheel. Tighten them lightly before lowering the vehicle. After lowering, tighten each lug nut twice in a star pattern.
Check the lug-nut torque with a torque wrench after 25 miles (40 km). The jack and lug wrench are stored under the load floor in the rear cargo area. When stowing the spare, position it with the valve stem facing the ground.
Never use the Wrangler’s jack to support the vehicle while working underneath it.
How Far and How Fast Can You Drive on a Spare?
A temporary compact spare is generally limited to about 50 miles and 50 mph. Those are general limits; the exact limit for your vehicle appears on the spare’s sidewall or in the owner manual.
Treat a compact spare as a temporary measure, not a replacement for a regular tire. Its narrower design is meant to get you to a place where the damaged tire can be repaired or replaced.
Arrange tire service promptly after installing the spare. Do not assume every spare has the same pressure or driving limit, even when two spares look alike.
Check the sidewall or owner manual for your vehicle’s exact limit before driving.
How Can You Keep Tires Ready for the Road?
Check every tire, including the spare, at least monthly when the tires are cold. Cold tires are on a vehicle that has not been driven for at least three hours.
A tire pressure monitoring system warns when pressure is significantly low, but it does not replace monthly pressure checks. In 2024, 511 people died in motor vehicle traffic crashes involving tire-related issues; that figure does not show that any single check would have prevented those deaths.
Check pressure when tires are cold
Check tire pressure before driving or at least three hours after driving. Use a tire gauge, then add or release air as needed. The recommended pressure may appear on a label at the driver’s-side door edge or post, inside the door jamb, on the glove-box door, or by the fuel door.
Your owner manual may also list the recommended pressure. Some vehicles call for different pressure in the front and rear tires, so check both values rather than assuming all four match.
Replace worn tread and heed the TPMS
Replace a tire when its tread wears to 2/32 of an inch. Tread helps the tire grip the road, so do not wait for a pressure warning to inspect worn tires. The TPMS alerts you to significantly low pressure, but it does not measure tread wear.
Use these recurring checks to keep the spare and road tires ready:
| Check | Rule | What to do |
|---|---|---|
| Pressure frequency | At least monthly | Check all tires, including the spare |
| Cold-tire timing | Three hours without driving | Check before driving or after three hours |
| Recommended pressure | Vehicle-specific values | Read the door label or owner manual |
| Tread depth | Replace at 2/32 inch | Replace the worn tire |
| TPMS warning | Signals significantly low pressure | Check pressure; keep monthly checks |
A TPMS warning is a prompt to check pressure, not a substitute for a monthly check.
Use the vehicle’s own pressure label or owner manual when setting the front and rear tires.
Conclusion
A calm decision is more valuable than finishing a roadside repair quickly. Changing a tire yourself makes sense only when the location is safe, your tools work, and the spare suits your vehicle.
If any part of that setup feels uncertain, roadside assistance can help you avoid a risky repair. A nearby service station or tire shop can inspect the damaged tire and tell you whether repair or replacement is needed.
Keep the owner manual accessible and make sure you know where the spare and tools are stored. Save your roadside-assistance contact information in your phone before your next trip.